
Azure DNS allows you to host a DNS domain and manage the DNS zone records. To host your domain in Azure, the zone must be created in Azure and delegated to Azure's authoritative DNS servers with a domain registrar.
Prepare before delegation
The screenshots use OVH; the principle applies to other registrars with different menu names. Do not change the registrar's name servers until the new zone has been populated and checked.
- Export/inventory the old zone and record its current authoritative NS values.
- Recreate required A/AAAA, CNAME, MX, TXT (including SPF/DKIM/DMARC), CAA and any SRV/delegated-subdomain records in Azure.
- Review TTLs, DNSSEC/DS records with the registrar and the planned change window; incompatible DNSSEC delegation can cause validation failures.
- Query each new Azure authoritative server directly before switching and compare important record answers.
- Keep the old zone serving equivalent data during the transition. Record who can restore the old NS set if rollback is needed; resolver caches mean rollback is not instant.
Technical execution validation and current portal-version review: not recorded. Use the official guidance below, not the screenshots alone.
Azure DNS isn't a domain registrar - you must buy your domain name first from a registrar like GoDaddy, OVH, Cloudflare, etc.
The official documentation is available here:
Creating a new public DNS zone in Azure
Azure DNS allows you to host a DNS zone and manage DNS records for a domain directly in Azure. For DNS queries for a domain to reach Azure DNS, the domain must be delegated to Azure DNS from the parent domain.
Keep in mind, Azure DNS is not the domain registrar - OVH remains the registrar.
Steps:
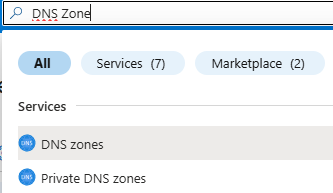
- Sign in to the Azure portal and search for DNS Zone in the Marketplace.
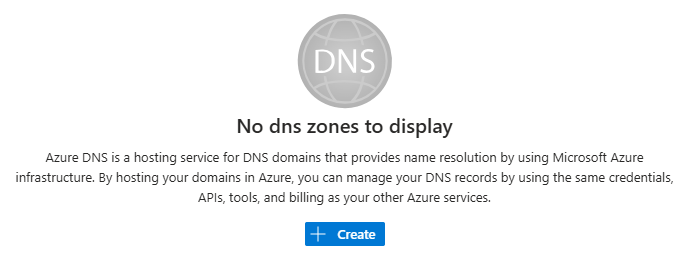
- Click Create.
- Select an existing resource group or create a new one, enter the DNS zone name, choose a location (e.g., West Europe), add tags if necessary, then click Create.
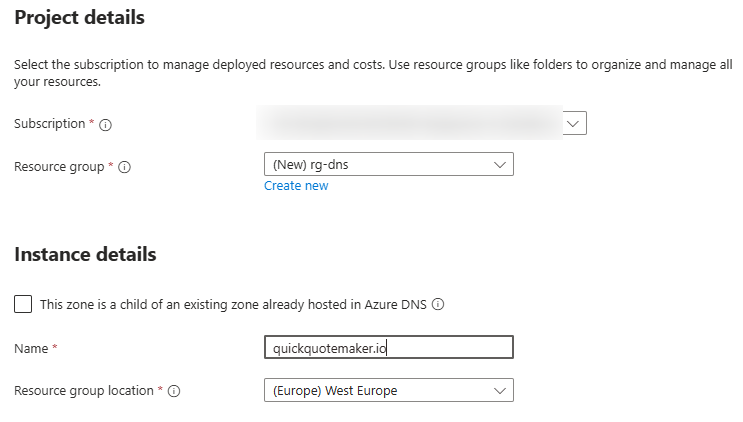
Azure can create a zone resource for a name without proving domain ownership. That does not give authority over the public domain: you must control its registrar/parent delegation to make public resolvers use your zone.
To manage the zone, Azure provides four name servers (NS) by default to ensure redundancy in case of failure.
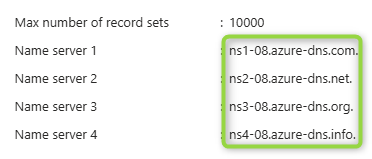
Copy the NS server names and keep them handy - they will be required to configure the delegation in the OVH portal.
Create DNS records
Populate Azure records before changing delegation. After the transition, DNS record changes belong in Azure, while domain registration, renewal and registrar-side delegation/DNSSEC settings still belong at the registrar.
First, recreate the inventoried records so the new authoritative servers already supply the expected answers. Do not overwrite Azure's assigned apex NS/SOA records with the old provider's values.
To display my website, the first record to create in Azure DNS is an A record pointing to the public IP address of my website provided by OVH.
- In Azure DNS, click Add Record Set.
- Leave the Name field empty or enter
@(this corresponds to the root of the domain). - Select record type A, leave the default TTL, and add the public IP address of the website.
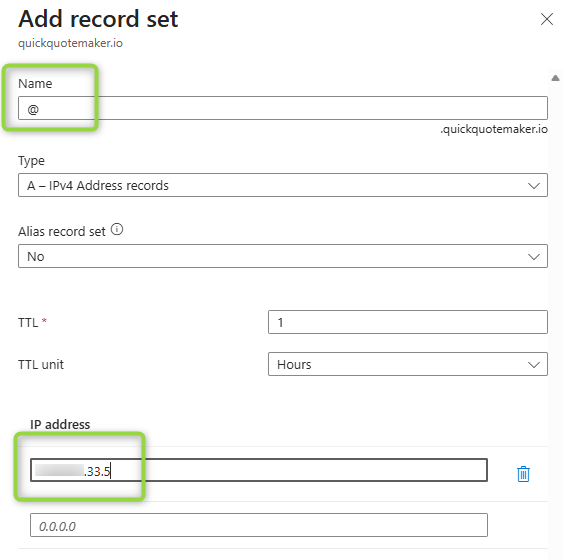
- Once the record is created, you should see the corresponding entry.

- Next, create a
wwwrecord of type CNAME pointing to the root domain.
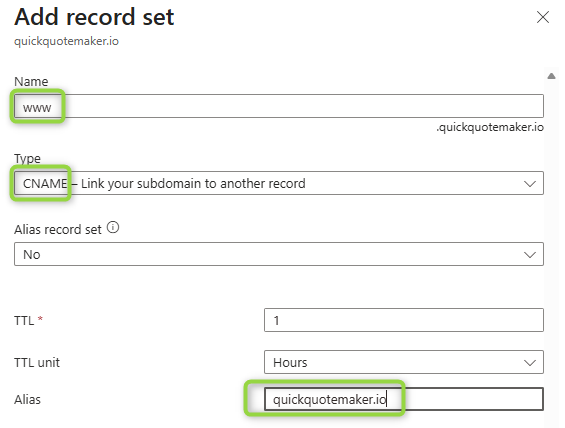
Delegate the domain
Only after the records in the preceding section have been created and directly queried should you update the registrar's authoritative NS set. Save the exact four Azure names and the previous registrar values. Each registrar has its own tools for this.
Steps in OVH:
- Go back to the OVH portal and navigate to the DNS Servers menu.
- Click Modify DNS Servers.
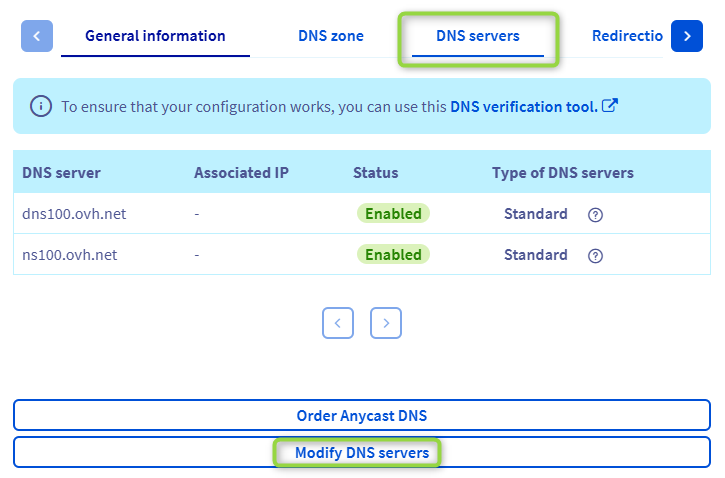
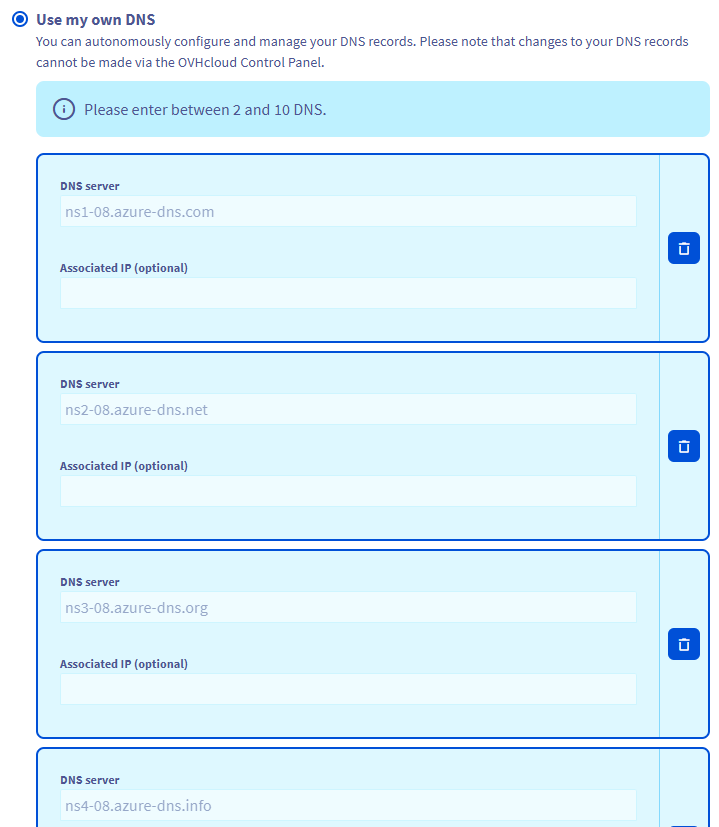
- Select Use my own DNS and add the four Azure DNS name servers (remove the trailing dot).
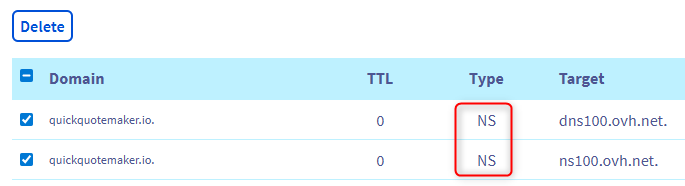
- Delete the existing OVH NS entries.
- Click Apply Configuration.

- The DNS servers for the zone are now the Azure DNS servers.
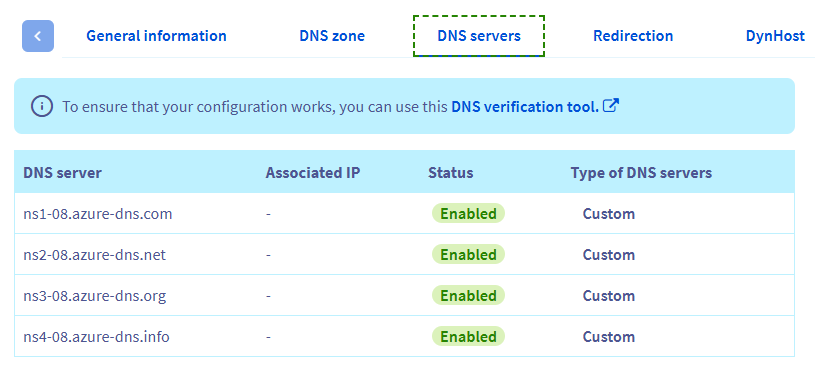
Missing or inconsistent records can interrupt websites, mail and other services. With matching old/new zones, downtime is not an intended step. During cache expiry, clients may query either provider; keep both correct and monitor important services.
Test the delegation
Before the switch, query a new Azure name server directly, for example nslookup -type=MX <your-domain> <one-azure-name-server>, and repeat for the important records. After the switch, check through ordinary recursive resolvers and optionally Zonemaster . Cache timing depends on TTLs and registrar/registry behaviour; there is no guaranteed ten-minute propagation period.
There is no need to explicitly specify the Azure DNS name servers. If the delegation is configured correctly, the standard DNS resolution process will automatically detect the Azure name servers.
Clear the DNS cache first:
ipconfig /flushdns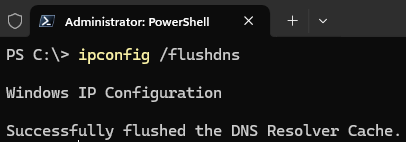
Then check the SOA record:
nslookup -type=SOA quickquotemaker.io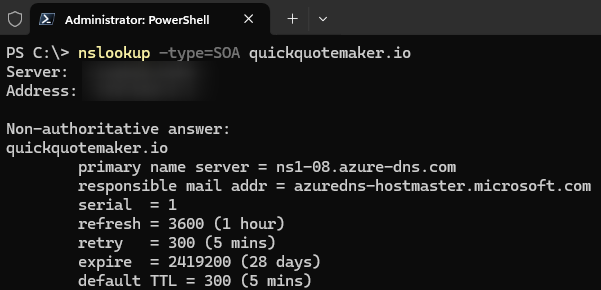
Verify that the response looks like the expected nslookup output. To display the name servers, run:
nslookup -type=NS quickquotemaker.io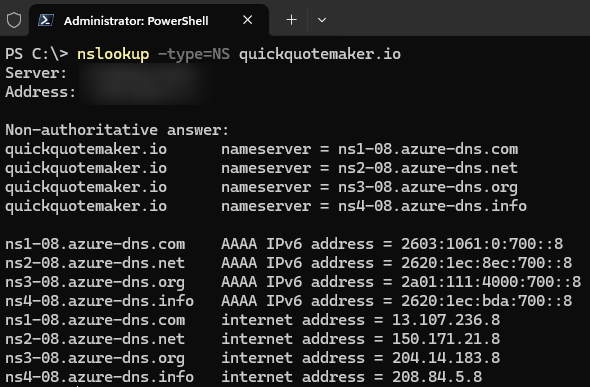
Expected: the NS set matches the assigned Azure servers, SOA identifies the intended authoritative zone, and web/mail/verification records match the inventory. Test both the apex and www, plus mail delivery if used. DNS success alone is not evidence that every service is healthy.
All DNS management actions (add / delete / modify records) should be done from Azure only. Add a Delete lock on your DNS resource group to prevent accidental deletion.
Enjoy!
Context
I own a domain name, quickquotemaker.io, which is used to display a website, www.quickquotemaker.io, that you can visit.
The DNS zone management for this domain is handled by the registrar OVH, where I purchased the domain name.
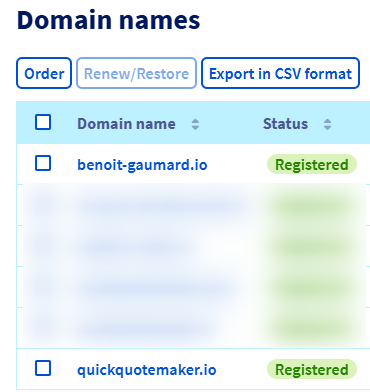
From the OVH interface, I can manage my DNS zone and add any type of record as needed (A, CNAME, NS, MX, TXT, etc.).
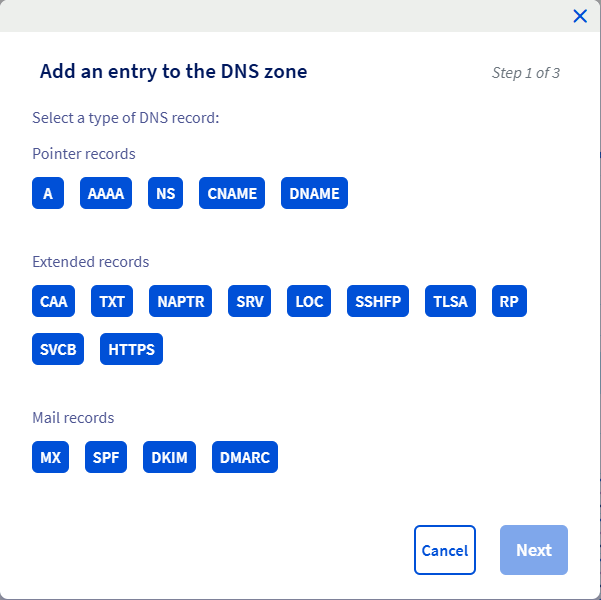
For various applications hosted in Azure, I regularly need to create new DNS entries so that my applications can be accessed using domain names such as myapp1.quickquotemaker.io, myapp2.quickquotemaker.io, or www.quickquotemaker.io.
To do this, I currently have to configure DNS settings in two different places: the Azure portal and the OVH portal . The goal of this article is to show how to centralize DNS zone management in Azure by delegating the zone currently hosted by OVH.